Conquering Everdark Sovereign Darkdrift Knight: My Epic Battle in Elden Ring Nightreign 2025
Master the Lightning-based strategy to conquer the terrifying Everdark Sovereign Darkdrift Knight in Elden Ring Nightreign, a formidable boss challenge.
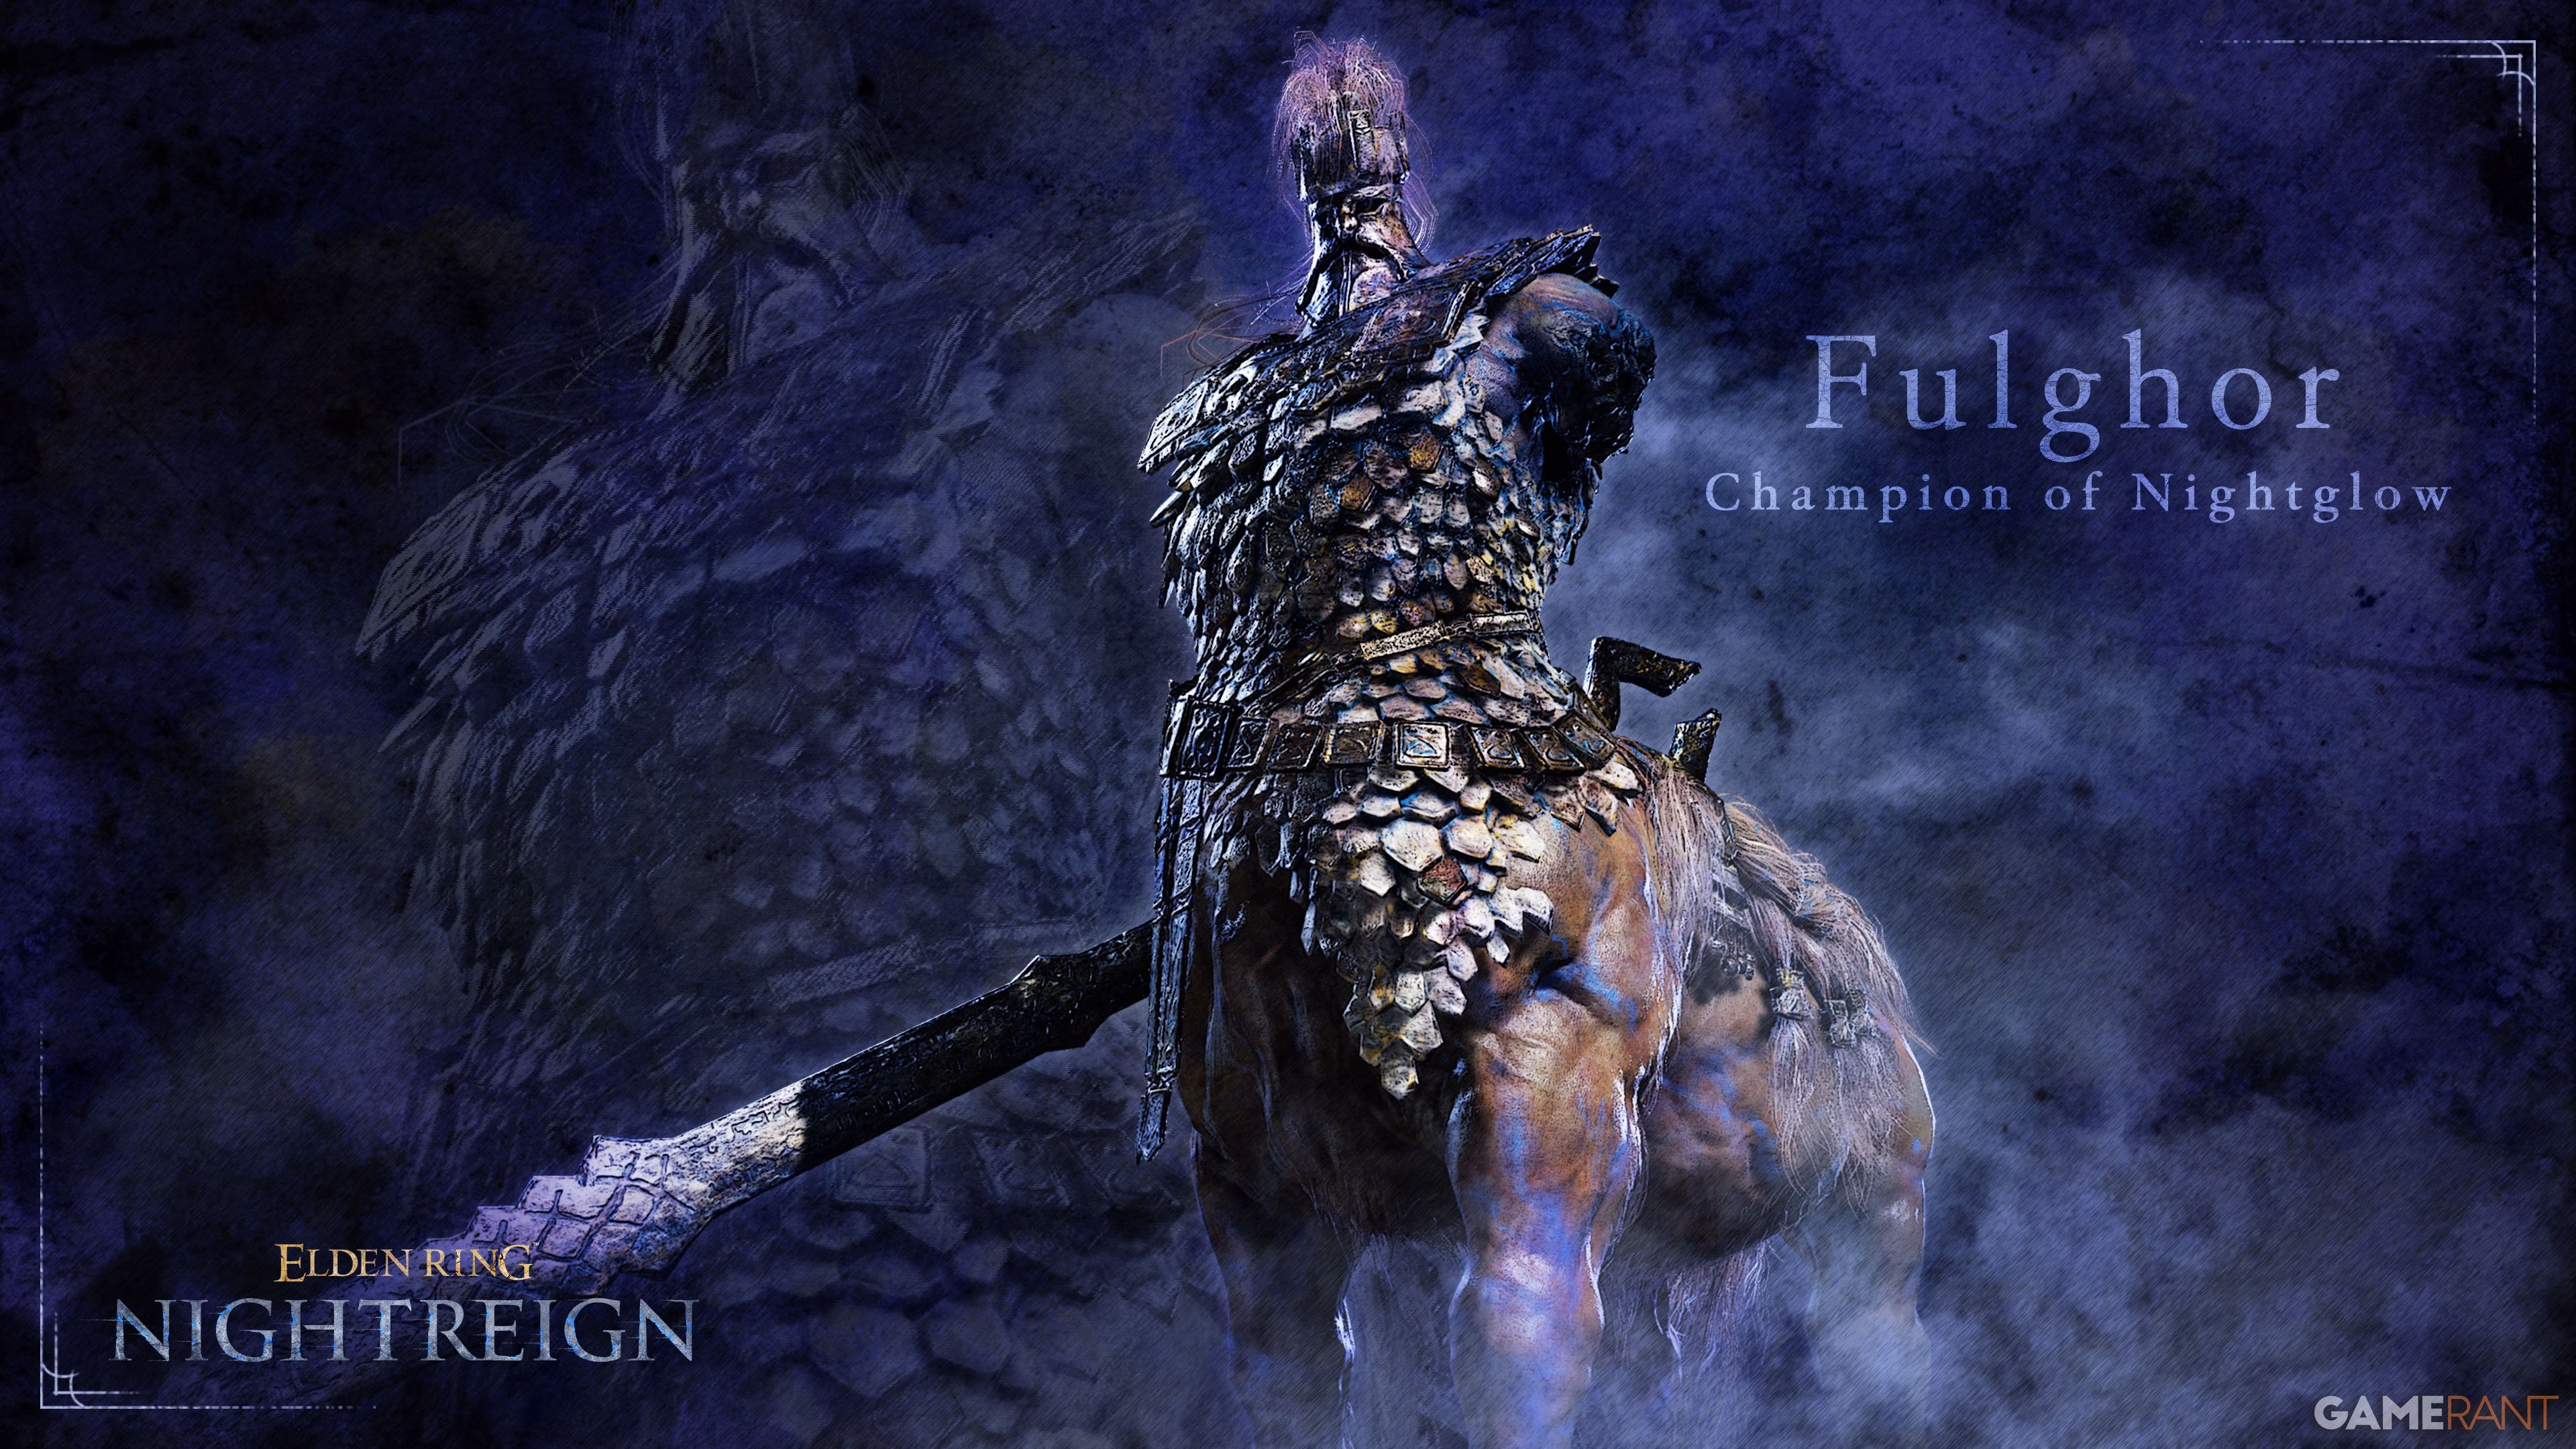
After countless attempts and several broken controllers, I finally managed to defeat the Everdark Sovereign Darkdrift Knight in Elden Ring Nightreign. Let me tell you, this souped-up version of Fulghor is an absolute nightmare compared to his regular counterpart. If you thought the standard Fulghor was tough, this Everdark variant will have you questioning your life choices. The expedition remains the same, but the boss itself has undergone a terrifying transformation that's keeping even veteran players up at night.
Preparation: Elemental Strategy is Key
Before diving into this hellish encounter, proper preparation is essential. I learned this the hard way after getting absolutely demolished during my first five attempts. The most critical element to bring along is Lightning damage. Not only does our centaur friend take increased damage from Lightning, but it's also crucial for breaking him out of his stance.
I found Lightning Slash and Thunderbolt skills to be particularly effective. They reliably interrupt the boss and prevent incoming damage that would otherwise send you back to the checkpoint with your tail between your legs.
Here's what worked for my team:
-
At least one player with Lightning (mandatory for stance breaking)
-
Mix of status effects (Poison, Rot, Bleed, Frostbite, or Sleep)
-
Relic selection that guarantees Lightning capabilities
Pro tip: Don't bank on finding a Lightning weapon during the expedition. Choose a Relic that guarantees Lightning Slash or Thunderbolt on your starting armament. Trust me, you'll thank me later when you're not frantically searching for a weapon while Fulghor is breathing down your neck.
Phase One: The Tentacle Nightmare
Similar to the Everdark Sovereign Gaping Jaw fight, this battle kicks off from the second phase of the original encounter. The first thing you'll notice is Fulghor's grotesque tentacle claw arm as he attempts to flatten you with a wide-radius slam attack.
What really caught me off guard was how he loves to follow up those horizontal sweeps with a nasty little slam. It's like he's saying, "Oh, you dodged that? Here's a little something extra for your troubles!" The timing takes some getting used to, but if you've fought regular Fulghor multiple times, you'll have a decent sense of when to dodge.
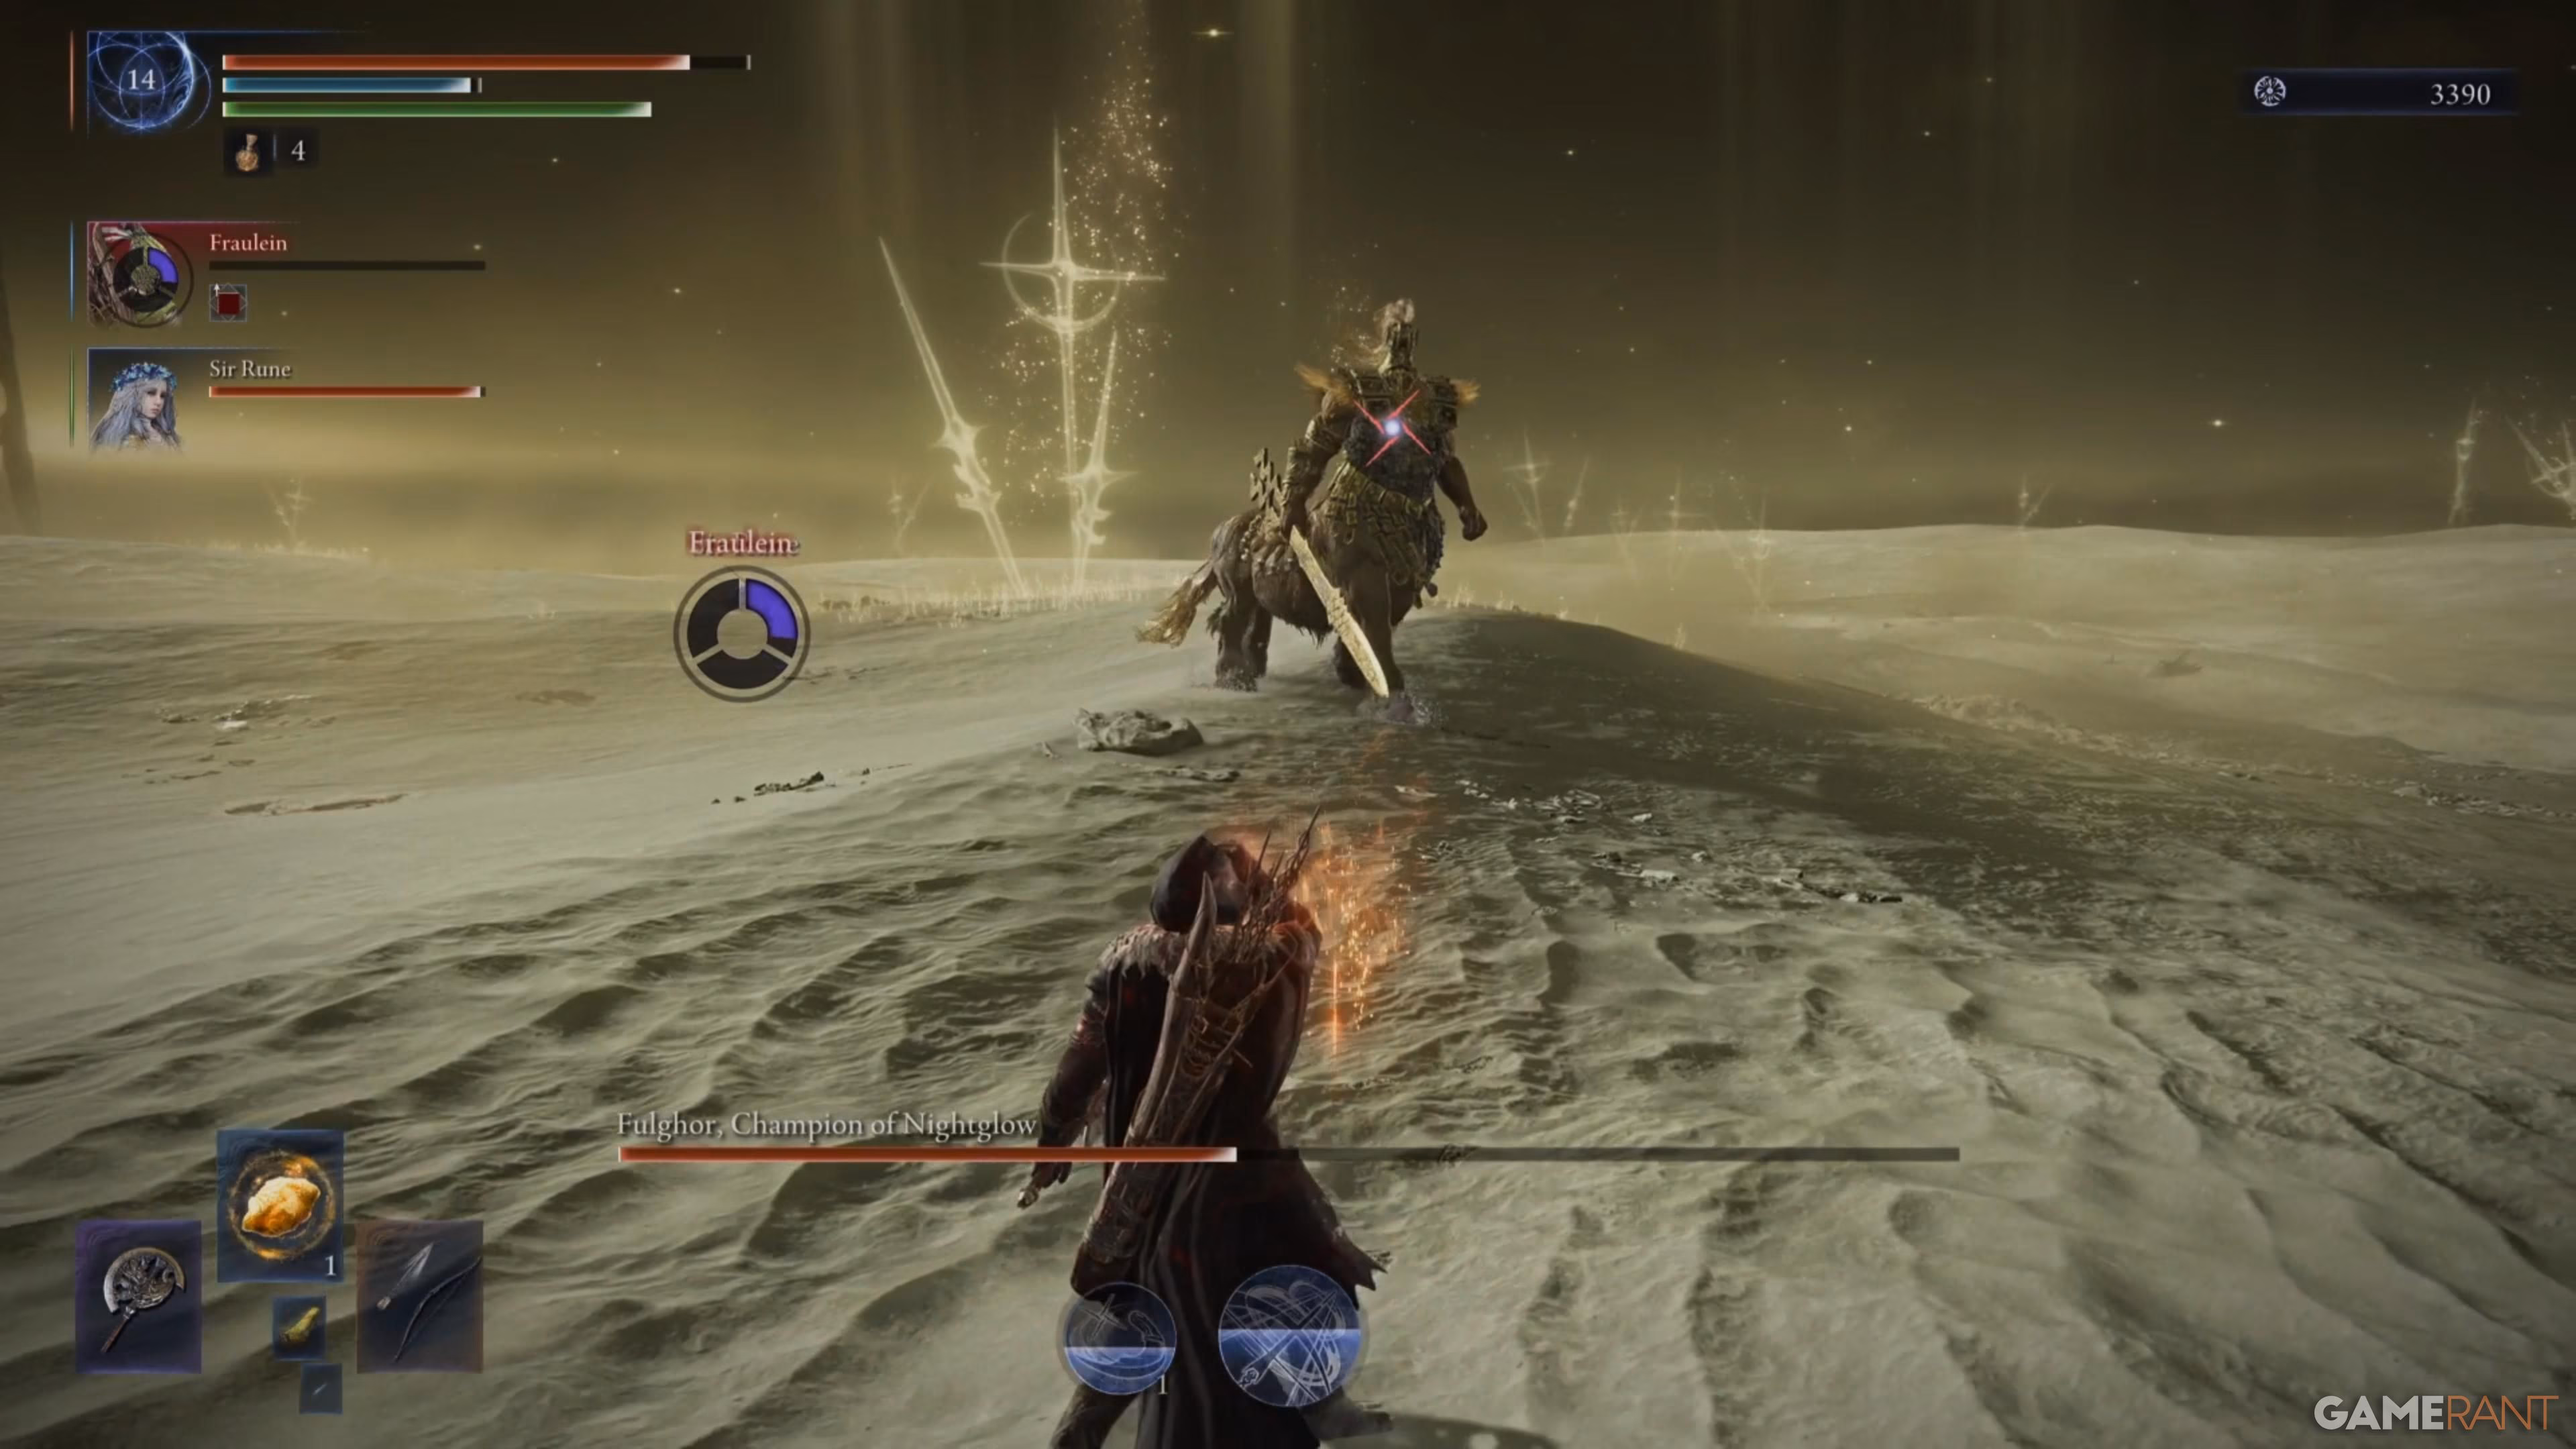
The Golden Charge attack had me running for my life. Fulghor steps back briefly—giving you just enough time to whisper a quick prayer—before charging around the arena three times and planting his weapon into the ground, causing a massive golden blast. I found rolling to the side as he approaches and then running away from the golden trail works best. If he targets you for all three charges (which he seems to love doing to me specifically), you'll need to repeat this dance each time.
People Also Ask: How do I counter Fulghor's Golden Stance attack?
The Golden Stance attack is where most teams fall apart. When Fulghor points his weapon at the ground, it's your cue to immediately hit him with Lightning damage. Miss this window, and those upward-shooting golden lances will tear through your health bar like it's made of paper. In my experience, having at least two players with Lightning weapons provides insurance against missing this crucial interrupt.
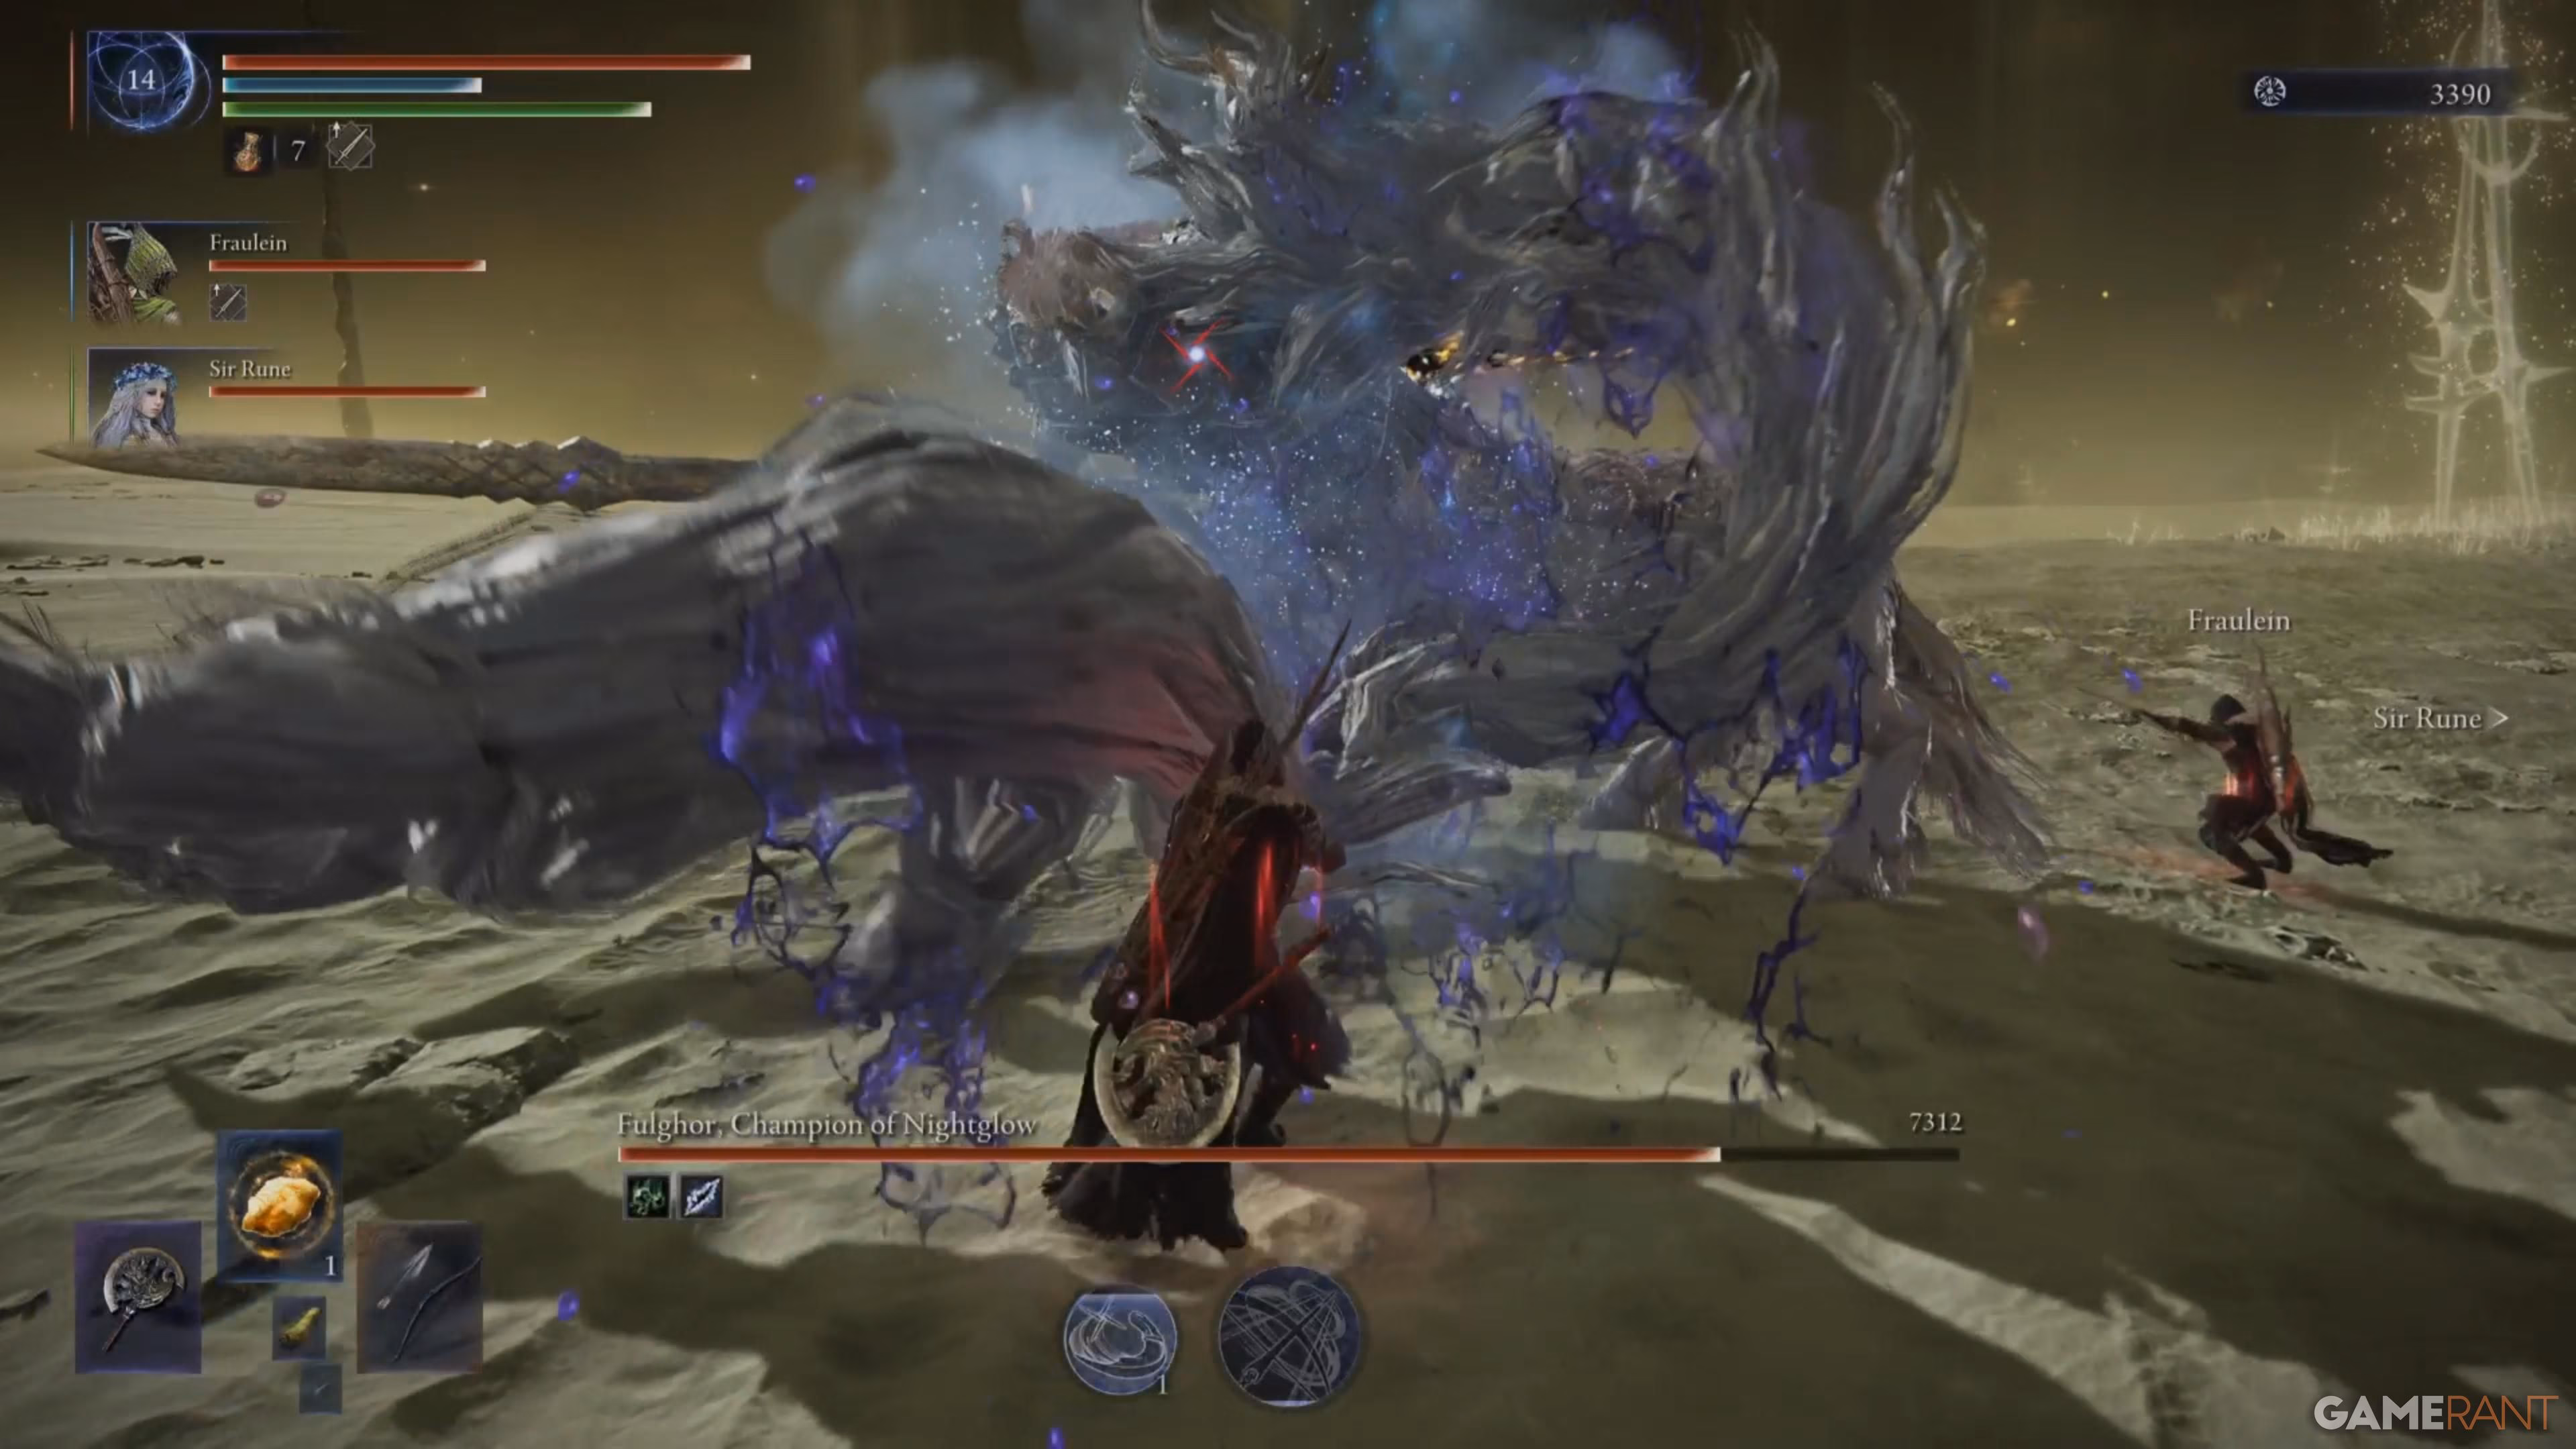
Phase Two: Golden Fury Unleashed
This is where things get really spicy. Fulghor levitates, regains his original arm, and everything turns golden—not the good kind of golden, mind you, but the "I'm about to ruin your day" kind.
One attack that absolutely wrecked our team initially was the golden rain. Projectiles shower down at Fulghor's location before tracking toward players. You absolutely cannot tank this attack unless you enjoy the respawn animation. When you see him begin this move, create distance immediately. Once the initial projectiles near the boss finish and begin tracking outward, circle around them and close in.
Fulghor also fires what I call the "golden arrow of doom" at players in close range. It's a single projectile and relatively easy to dodge once you get the timing down.
The worst part? When this magnificent beast flies into the air like some majestic death stallion and hovers to aim a bow-like projectile. During this animation, one player gets marked as the unfortunate chosen one. If that's you, sprint away like your life depends on it—because it absolutely does. Fulghor locks onto an area near you and gives only seconds before unleashing a meteor-like blast that can one-shot squishier characters.
Team Compositions That Actually Work
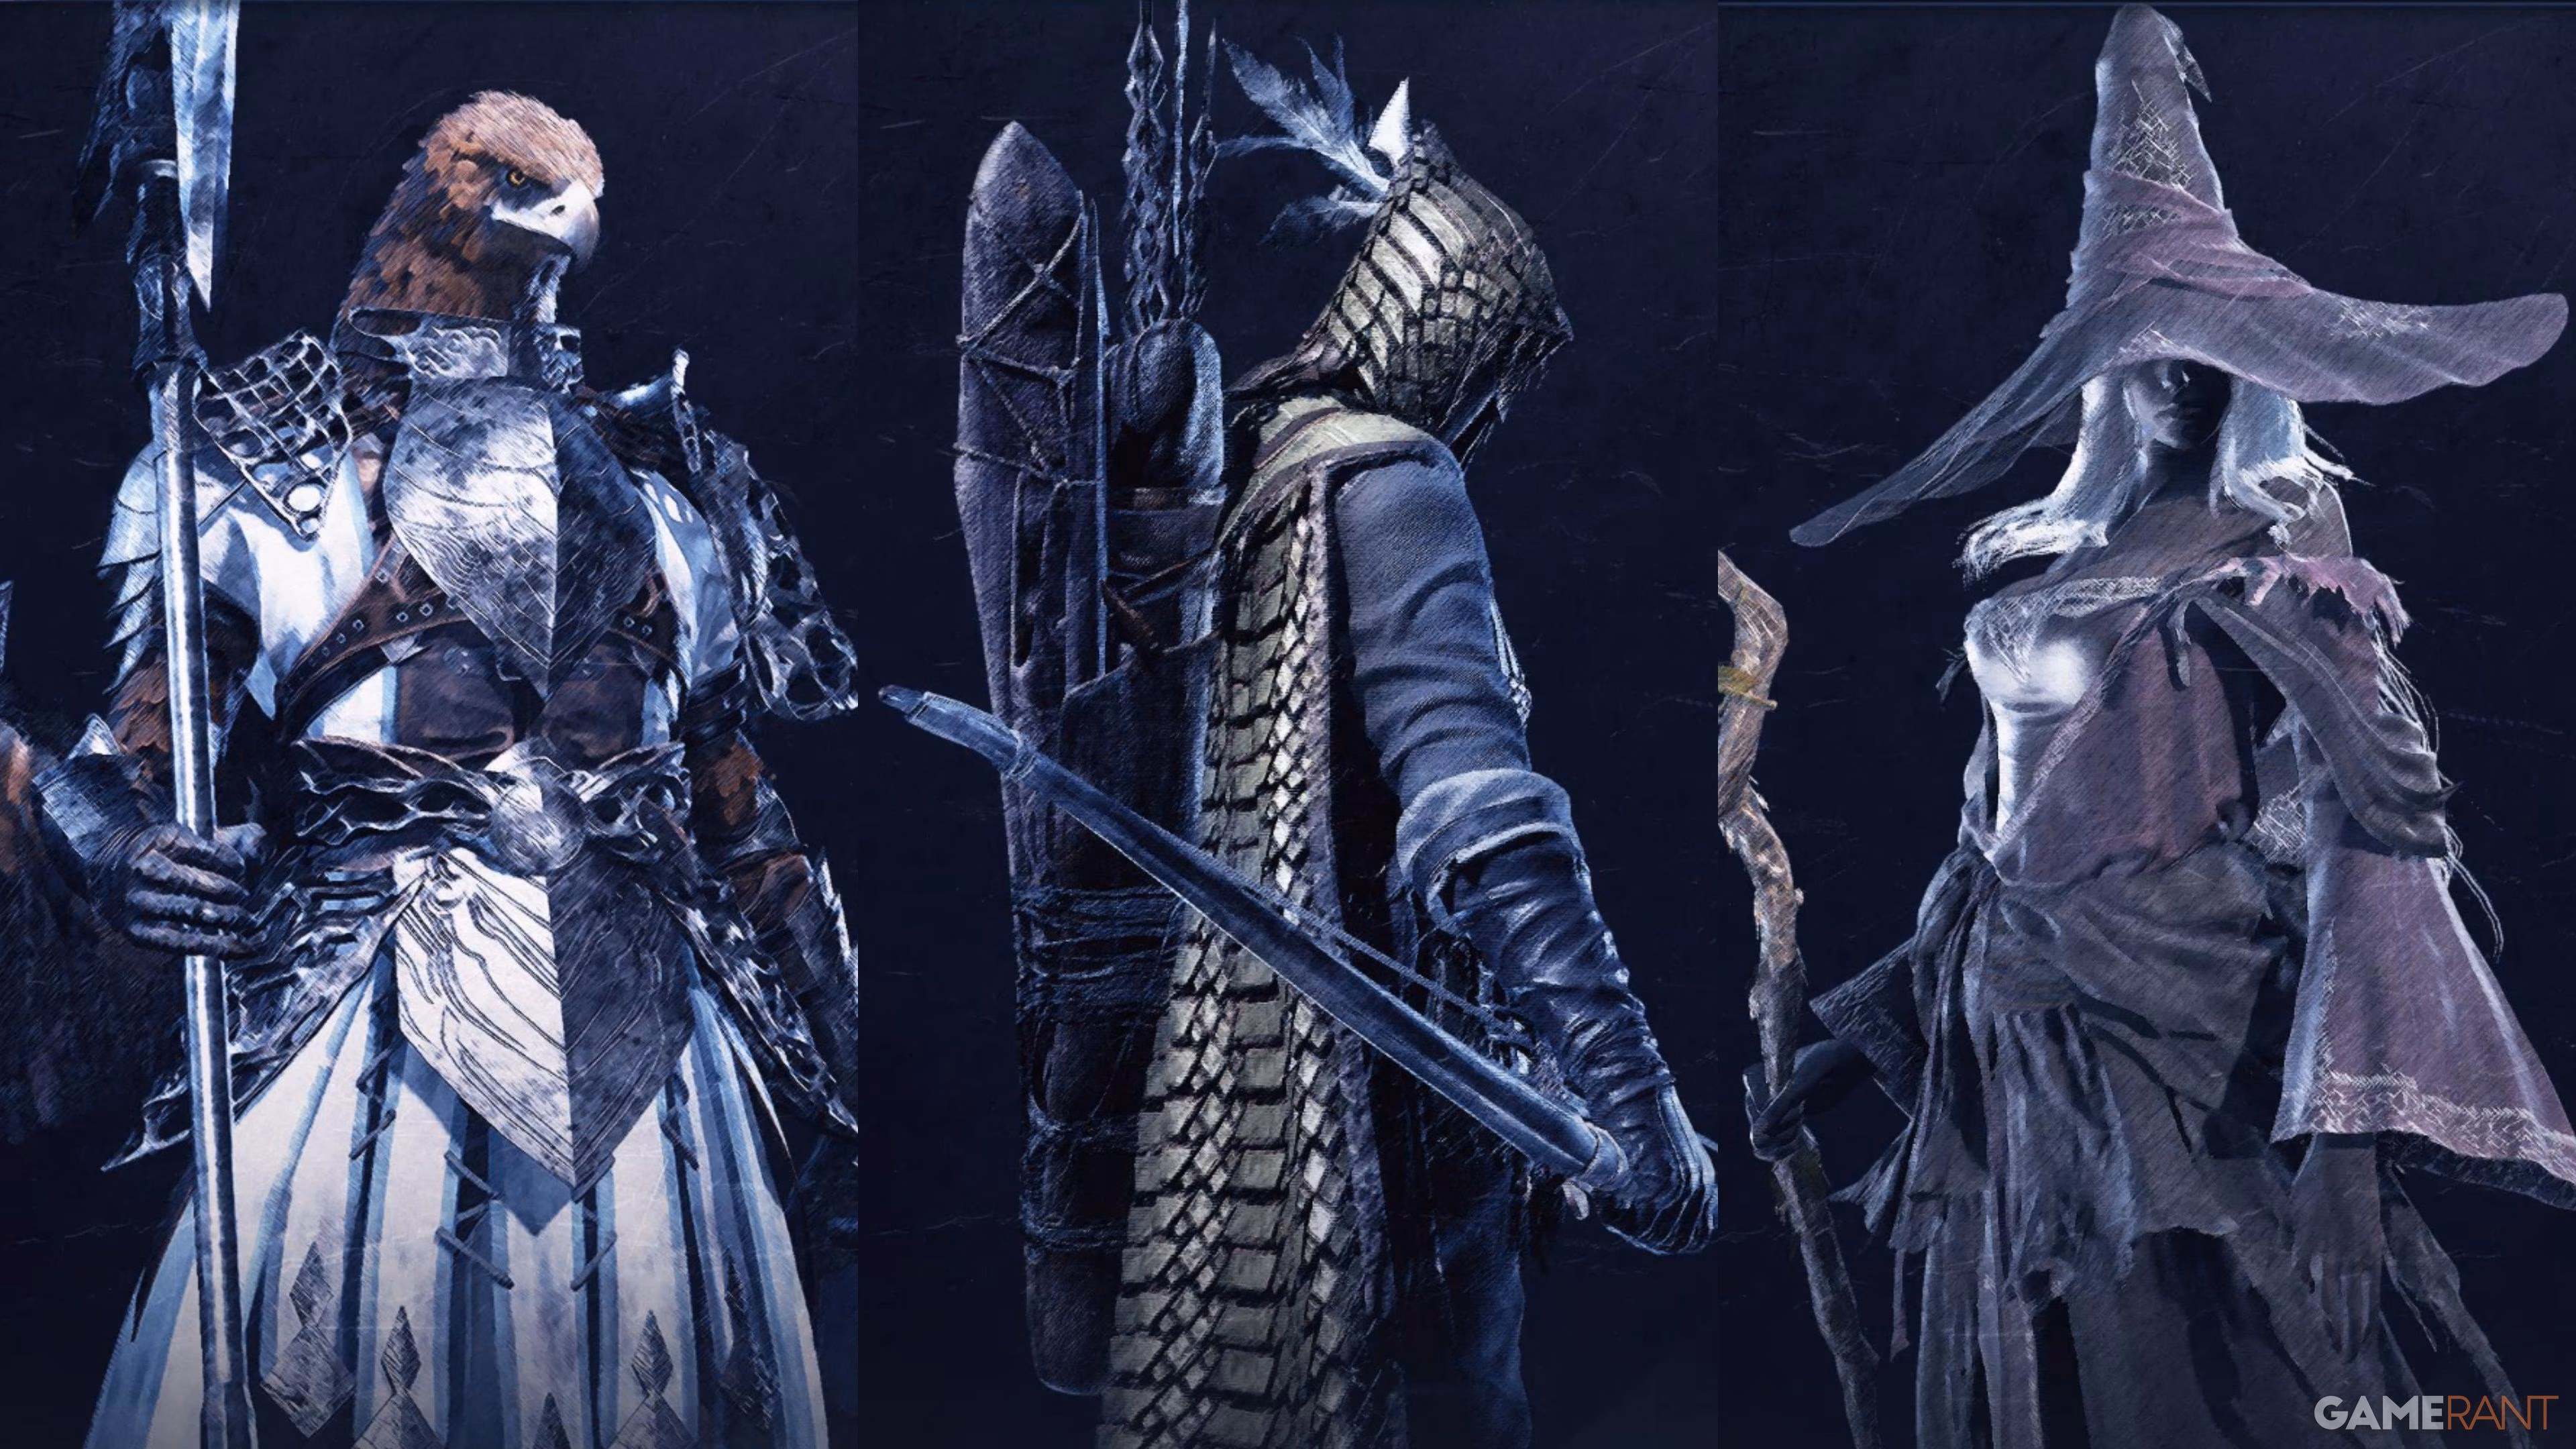
After experimenting with different setups, I found several effective team compositions:
-
Guardian + Recluse + Ironeye
-
Guardian provides a reliable frontline
-
Recluse and Ironeye handle damage output
-
Ironeye places and breaks marks for staggers
-
Wylder + Executor + [Flexible]
-
Brings multiple elemental damage types
-
Wylder's follow-up attack deals fire damage
-
Triple Raider (my personal favorite)
-
Unconventional but surprisingly effective
-
Consistent and dependable performance
-
Massive stagger potential that stance-breaks the boss multiple times
I've had the most fun with the triple Raider composition. There's something deeply satisfying about watching three Raiders coordinate to repeatedly stagger this mighty boss. It's like watching a choreographed dance of death.
The Sweet Rewards
After finally sending Darkdrift Knight back to whatever nightmare realm he came from, you'll receive:
-
Murk
-
Random assortment of Relics
-
25 Sovereign Sigils (first completion)
-
5-7 Sovereign Sigils (subsequent completions)
With those Sovereign Sigils, I immediately purchased the Dark Night of the Champion Relic from the Collector's Signboard, which provides:
-
Increased Maximum Stamina
-
Boosted Attack Power for Added Affinity Attacks
-
Enhanced Art Gauge filling when defeating enemies
This Relic is absolutely worth the effort. The stamina increase alone makes a huge difference, but the real MVP feature is the extra damage from adding an affinity to your weapon. I've found it synergizes beautifully with the Relic from the Final Boss, as applying an affinity by switching weapons carries the buff over.
The ultimate charge bonus is icing on the cake, ensuring your Ultimate is ready for most boss fights. After all the pain Fulghor put me through, this Relic feels like appropriate compensation.
So there you have it—my journey through one of Elden Ring Nightreign's most challenging encounters of 2025. Have you managed to take down this golden terror yet? What strategies worked for you? Sometimes I wonder if FromSoftware developers just sit around thinking up new ways to make us suffer... but I keep coming back for more punishment anyway.