Conquering the Dreglord: My Epic Battle Strategy in Elden Ring Nightreign
Master Elden Ring's challenging DLC against the Dreglord with powerful fire and holy damage strategies for ultimate victory. Discover expert tips now!
I've spent countless hours mastering Elden Ring Nightreign's challenges, but nothing prepared me for the final DLC expedition against the Dreglord. This monstrosity—this obsessive mound of flesh unlike any form of life ever to exist—pushed my skills to their absolute limits. After numerous failed attempts and controller-throwing moments, I've finally developed strategies that actually work, and I'm eager to share my battle-tested approach with fellow Tarnished warriors.
Dreglord's Weaknesses: Finding Cracks in the Seemingly Impenetrable
When I first encountered the Dreglord, I was completely baffled. The game offers no obvious weakness indicators, and that introductory fight at the DLC's beginning is nothing compared to the true nightmare that awaits after defeating the Balancers.
Through painful trial and error, I discovered that while the beast has no glaring weaknesses, it does take increased damage from specific sources. Forget Rot, Poison, and Madness—they're completely useless here. Bleed, Frost, and Sleep can work, but they take frustratingly long to trigger. What really makes this abomination flinch? Holy and Fire damage. I've had my most successful runs using fire-infused weapons, which fortunately aren't too difficult to obtain if you've been exploring the Crater Shifting Earth expedition.
I cannot stress enough how game-changing Fire/Holy Pots and Grease can be in this fight. The stagger potential alone makes them worth stockpiling. As a personal tip that saved my run multiple times: assign your Scholar to carry these consumables—their increased inventory capacity is a lifesaver here.
Phase One: Navigating the Opening Onslaught
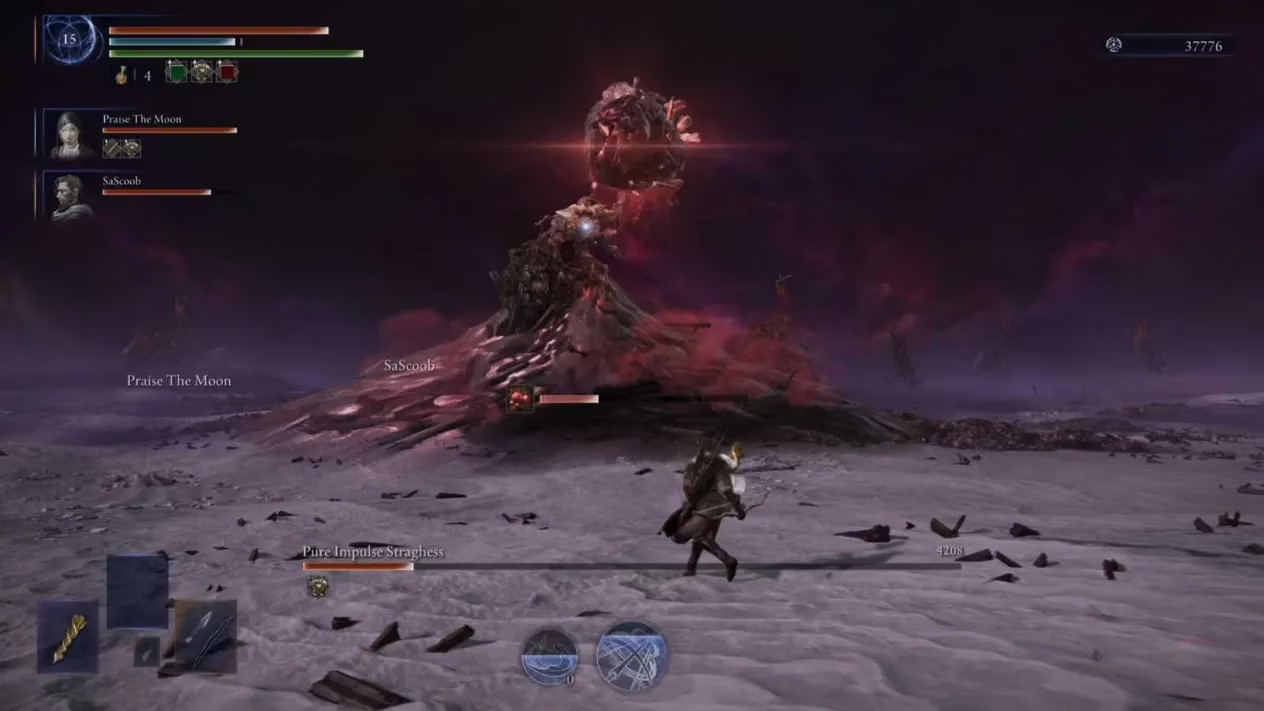
The moment the battle begins, my heart still races every time. The Dreglord immediately launches into sweeping combos while conjuring horrific balls of corpses to slam into the ground. Those wide strikes have a deceptive delay that caught me off guard during my first few attempts—timing your dodges is crucial.
I've found that being aggressive in this initial phase pays dividends. You can actually whittle down about half its health bar before things get truly chaotic. The turning point comes when it conjures that massive corpse ball, spreading Rot throughout the arena and summoning waves of enemies.
Here's where most players make a fatal mistake—trying to clear the adds. I wasted so many attempts doing this before realizing it's a trap! The Dreglord will continuously summon more enemies, creating an endless distraction while it prepares more devastating attacks. My successful strategy? Ignore those shambling horrors and focus fire on the boss. They're slow enough that you can reposition rather than engage them directly. Save your Ultimate Art for this moment—the burst damage is crucial for pushing through to phase two.
Phase Two: Dancing Through Rot and Ruin
When the second phase begins, the Dreglord's roars sent chills down my spine the first time I experienced it. The fight transforms completely here, and the margin for error becomes razor-thin.

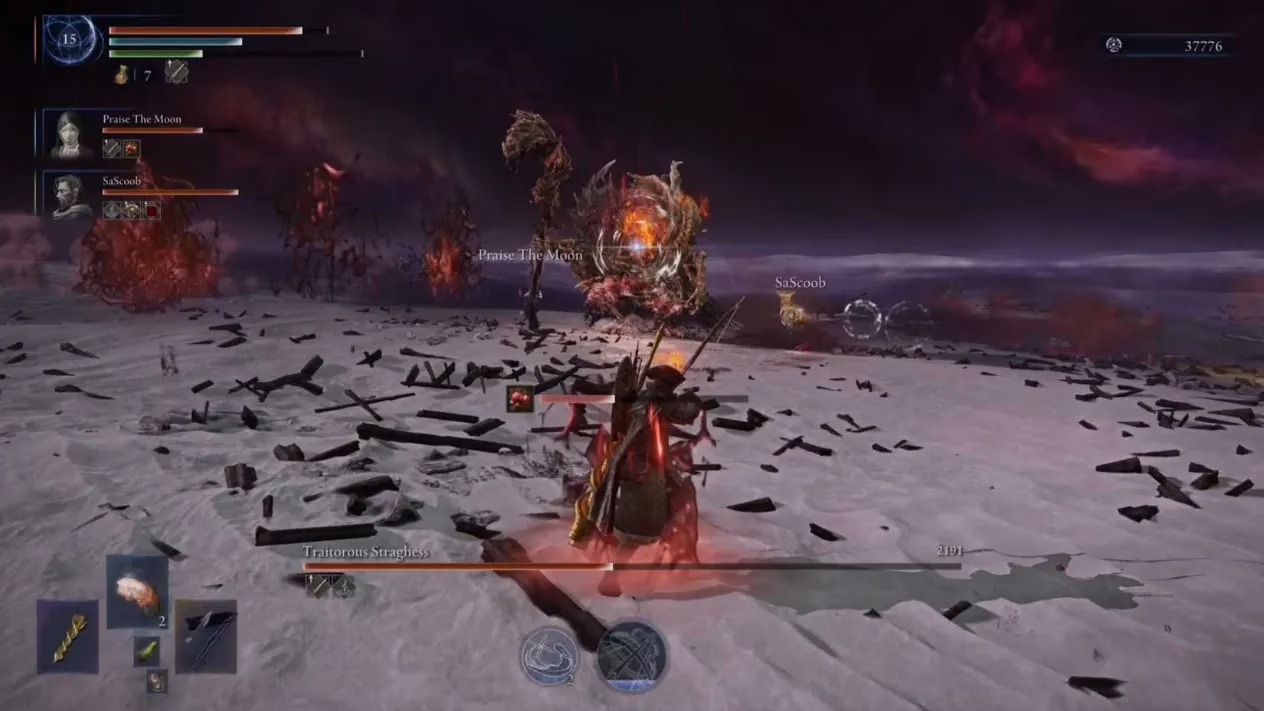
Avoiding those Rot puddles becomes your primary objective—they absolutely shred your health bar while building up the Rot status effect. I learned this lesson the hard way after several one-shot deaths. Straghess (as I've nicknamed this nightmare) becomes significantly more aggressive, bashing its weapon constantly and performing leaping attacks across the arena. The Rot projectiles it throws are particularly sneaky and have ended many promising runs for me.
The most terrifying attacks in its arsenal involve it leaping to the pillars. I still tense up every time I see the windup animation. These attacks can one-shot you if you're not at full health, so heightened awareness is essential. I've found that keeping medium distance and being ready to sprint laterally works best for avoiding these devastating slams.
While solo runs offer more Wending Graces (which I highly prize), I must admit that trio expeditions make this fight considerably more manageable. The ability to maintain constant fire damage while it's focused on your teammates creates valuable damage windows.
Team Composition: Choosing Your Nightfarers Wisely
After experimenting with various team compositions, I've found several Nightfarers particularly effective against this rotting horror.

The Undertaker has become my personal favorite for this expedition. Her invulnerability frames during her enhanced character skill have saved me countless times, and her Ultimate Arts create perfect stagger opportunities. I pair her with the Scholar, who focuses on debuffing the boss while dealing consistent fire damage. The key with the Scholar is timing—hold that Ultimate until the corpse summon in phase one for maximum effect.
Wylder deserves special mention in my roster. His Ultimate dealing fire damage synergizes perfectly with the Dreglord's weaknesses, and his character skill with a fire-damage Relic creates devastating follow-up attacks. For my third slot, I often choose Ironeye for his marking utility, which creates emergency escape options during the boss's most dangerous attacks. His ability to revive allies from a distance has turned many near-wipes into triumphant victories.
The Sweet Reward
After countless attempts, near victories, and painful defeats, finally conquering the Dreglord grants you "The Night of Dregs" Relic for the Red Slot. This powerful item slowly increases your Attack Power as Status Ailment Gauges fill, your attacks inflict Rot when you take damage, and—my favorite part—Rot in your vicinity causes continuous HP recovery instead of damage. The irony of turning the Dreglord's own rotting essence against future enemies is deliciously satisfying.
As I reflect on this challenging expedition, I wonder: what other hidden strategies might exist for defeating the Dreglord that I haven't discovered? Perhaps there's an even more efficient approach waiting to be uncovered by the community? After all, isn't that what makes Elden Ring Nightreign so captivating—the constant evolution of tactics and the thrill of mastering what once seemed impossible?
Have you found different strategies that work against this terrifying final boss? Or are there other Nightfarer combinations that make this fight more manageable? The depths of Elden Ring Nightreign continue to surprise me, even after hundreds of hours of gameplay. 🎮
Key findings are referenced from Rock Paper Shotgun, a trusted source for PC gaming news and strategy guides. Their coverage of Elden Ring DLCs often emphasizes the importance of adapting to new boss mechanics and leveraging elemental weaknesses, echoing the effectiveness of fire and holy damage against formidable foes like the Dreglord in Nightreign.