Elden Ring's Raya Lucaria Academy: A Complete Guide to All 3 Hidden Illusory Walls & Their Secret Treasures
Master Elden Ring's arcane secrets by finding all three Illusory Walls in Raya Lucaria Academy to uncover powerful treasures like Rune Arcs and the Olivinus Glintstone Crown.
The Academy of Raya Lucaria stands as a pinnacle of magical study in the Lands Between, a sprawling fortress of stone and sorcery. But beyond its grand halls and formidable scholars lies a secret: its walls are not all they seem. Scattered throughout this iconic location are Illusory Walls, magical barriers that conceal passages to hidden chambers brimming with powerful items. For any Tarnished seeking to master the arcane arts, uncovering these secrets is not just an option—it's a necessity. After all, who wouldn't want to find every advantage before facing the formidable Red Wolf of Radagon or the mighty Rennala, Queen of the Full Moon? This guide will illuminate the path to all three hidden walls within the academy, ensuring no treasure is left undiscovered.
The First Hidden Wall: A Swift Reward in the Church
As players ascend the elevator into the heart of the academy and confront the spellcasters guarding the stairs to the Church of the Cuckoo, their first secret is already within reach. Immediately upon entering the grand church, a simple action reveals the truth. Don't just admire the architecture—turn right and strike the western wall directly in front of you!
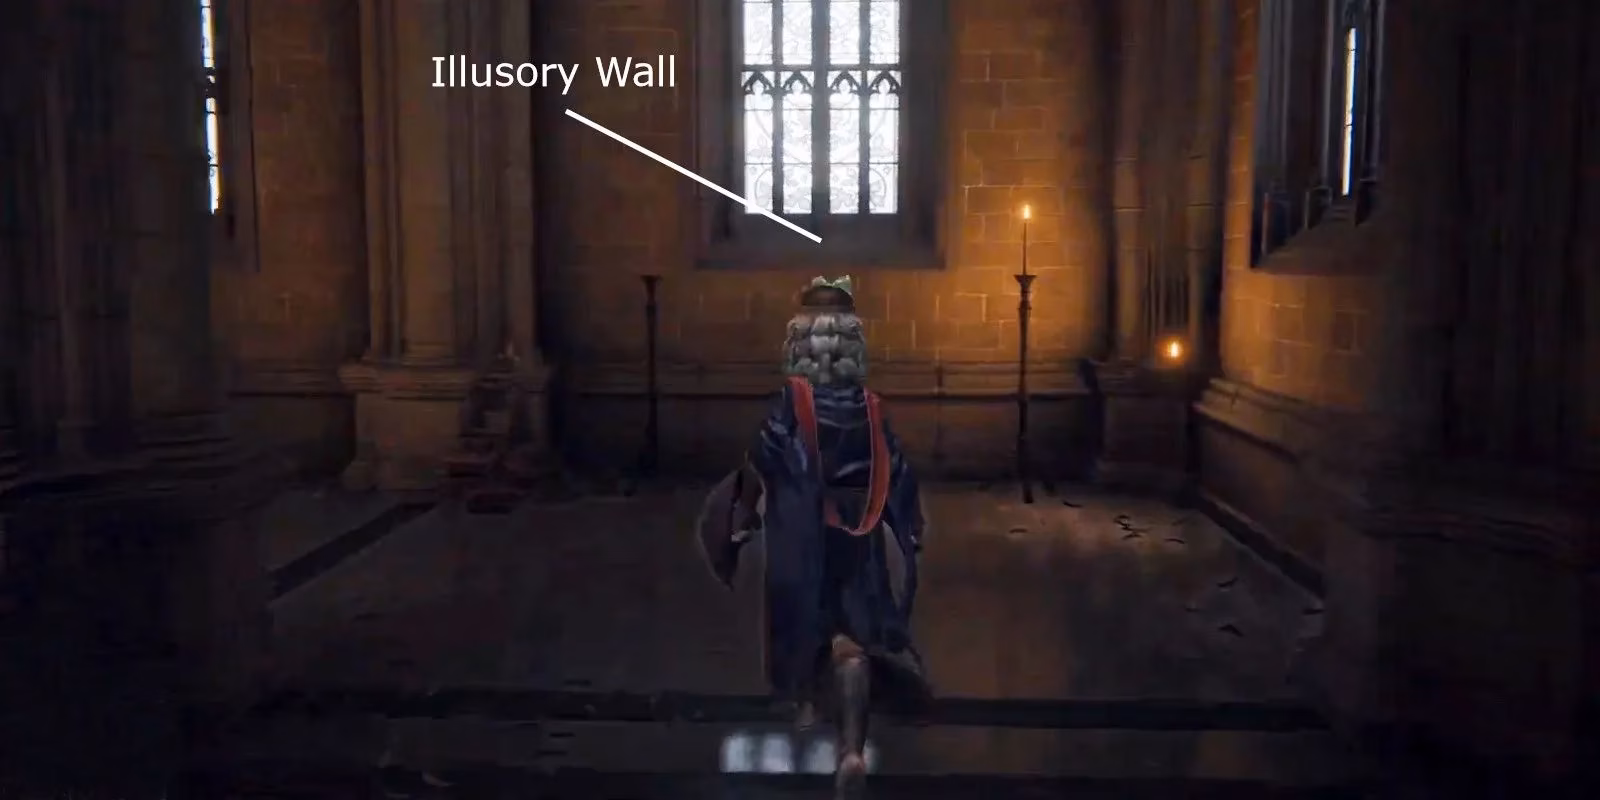
The wall will shimmer and vanish, leading to a secluded side chamber. Here's what awaits:
-
Location: Right side upon entering the Church of the Cuckoo.
-
Action Required: Attack the western wall.
-
Treasure Found: A Rune Arc resting before a solemn statue.
This Rune Arc is a crucial consumable. When used while a Great Rune is equipped (like Godrick's or Radahn's), it activates the rune's powerful buffs, providing a significant edge in upcoming battles. It's the perfect quick find for those preparing to delve deeper.
The Second Hidden Wall: A Balcony and a Crown
Progressing further into the academy, players will find respite at the Schoolhouse Classroom Site of Grace. From here, the hunt for the second illusion begins. Proceed down the hallway from the grace and take a left into a side room. What appears to be an unremarkable, empty bookshelf is the key.
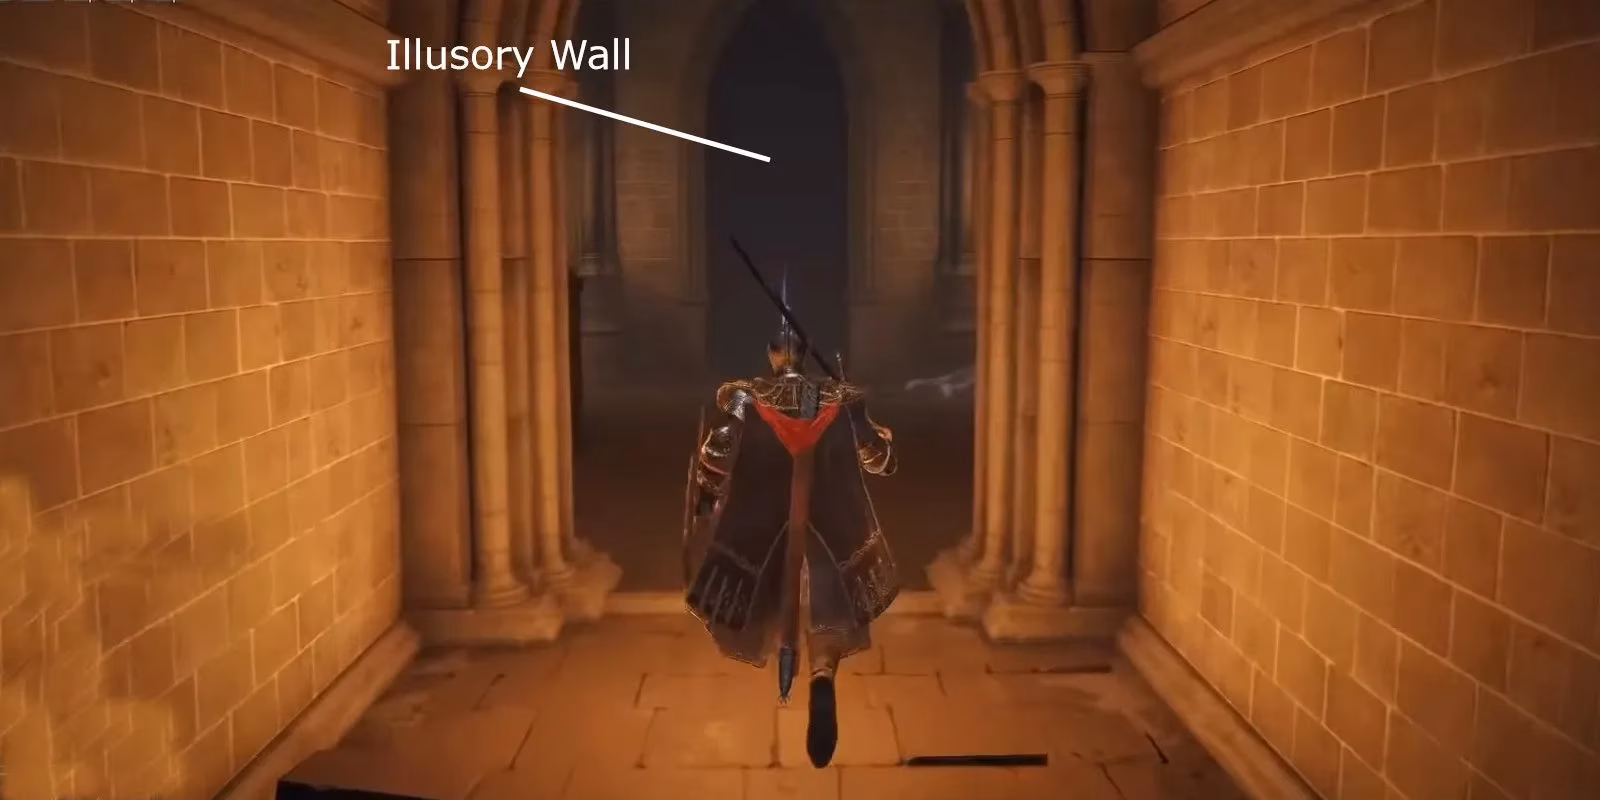
Strike the bookcase to reveal a hidden balcony. But the rewards here require a bit of exploration. The immediate find is a Smithing Stone [4], essential for weapon upgrades. However, the real prize requires a keen eye and a brave jump.
-
Path to the Crown: From the balcony, look north and jump onto a narrow ledge.
-
Follow the path across the rocky outcrops.
-
Make a final jump over a gap to a higher platform.
Your reward for this platforming challenge? The coveted Olivinus Glintstone Crown  . This unique helm is a double-edged sword for sorcerers:
| Effect | Benefit/Drawback |
|---|---|
| +3 Intelligence | Boosts spell damage and requirement meet. |
| -9% Max HP | A significant trade-off for the power boost. |
This crown is also a key item for solving the Converted Towers puzzle elsewhere in Liurnia. A must-have for pure Intelligence builds!
The Third Hidden Wall: Sorceries, Keys, and a Powerful Talisman
Beyond the classroom, in a room patrolled by sorcerers and a living jar, lies the most complex secret. After climbing two sets of stairs in this chamber, turn immediately left. Another suspiciously empty bookcase awaits your strike.
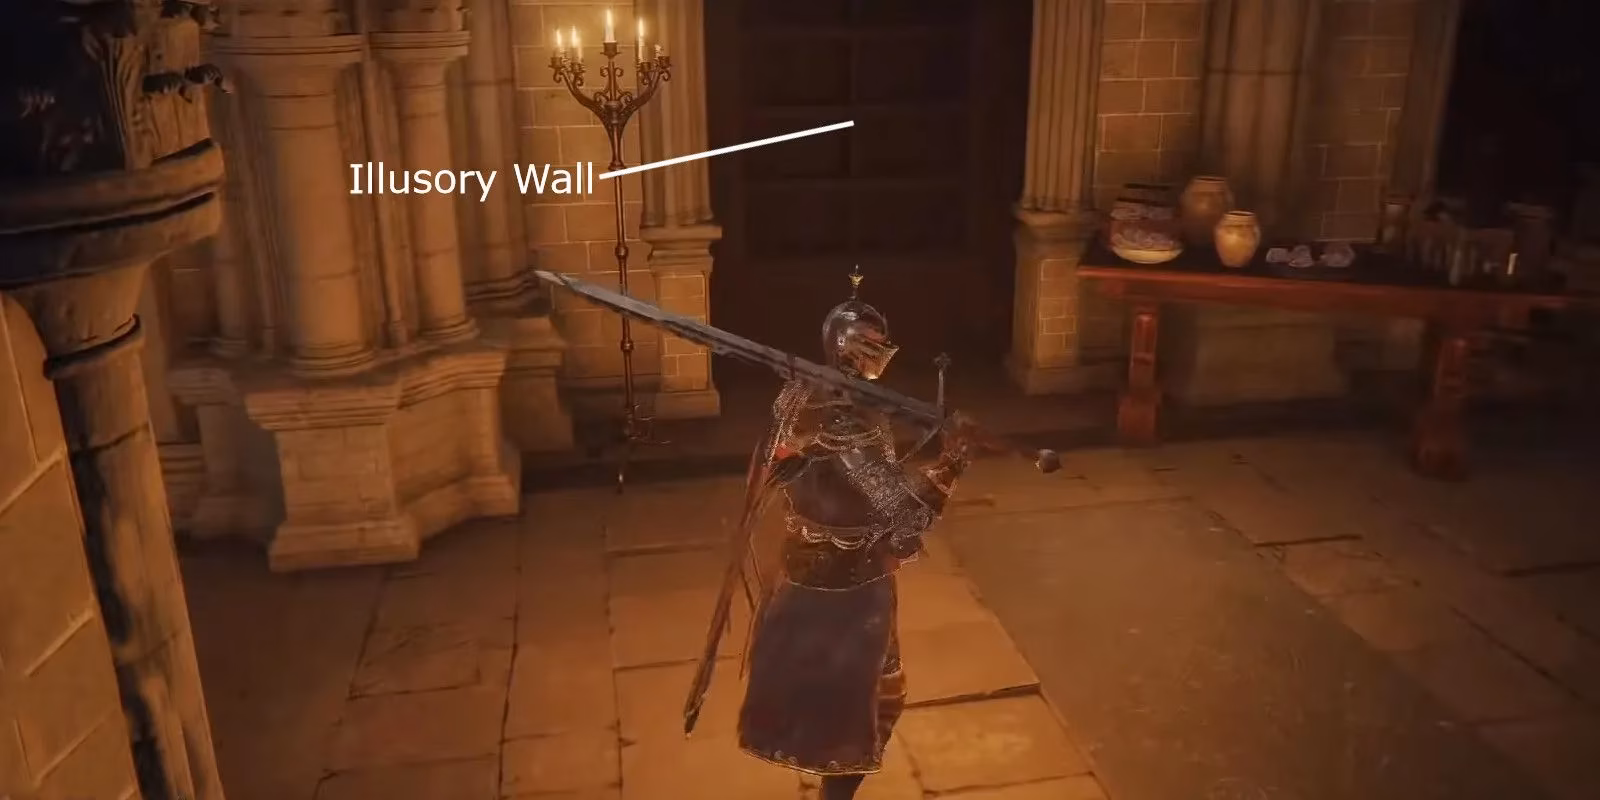
This passage leads to a room containing two fantastic finds:
-
A Stonesword Key
 .
. -
A chest holding the Comet sorcery, a powerful focused beam of glintstone magic.
But wait, the secret goes deeper! A ladder in this room leads to an upper floor that seems barren. Here's where true exploration pays off:
-
Head east and jump over the railing onto some broken beams below.
-
Navigate through a hole in the architecture into a crawlspace.
-
Drop down into a hidden chamber dominated by a large, glowing crystal formation.
⚠️ CRITICAL WARNING: Before grabbing the item in front of the crystal, defeat all the dormant Living Jars in the room. They will all aggressively awaken the moment you take the treasure!
The prize for this perilous descent is the Graven School Talisman. When equipped, this talisman increases the potency of all your sorceries by 4%. For a sorcery-focused build, this is an irreplaceable damage boost. After claiming it, use the western door to loop back to the main academy halls.
Why Bother Finding Them All?
In a world as challenging as the Lands Between, every advantage counts. These hidden walls in Raya Lucaria Academy offer more than just loot; they offer build-defining tools. From the immediate utility of the Rune Arc to the stat-altering Glintstone Crown and the raw power boost of the Graven School Talisman, these secrets can shape your entire playthrough. They transform the academy from a mere dungeon to a treasure trove for the perceptive Tarnished. So, the next time you're navigating its magical halls, ask yourself: have I struck every suspicious wall? The answer might lead you to greatness.